Asus Eee Pad Transformer Prime TF201 Repair Guide
June 4, 2018 | 0 Comments
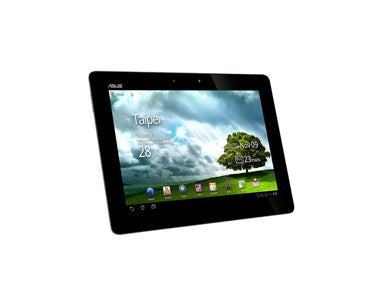
The Repairs Universe team put together this repair guide for the Asus Eee Pad Transformer Prime TF201, allowing owners to be able to disassemble this device themselves and perform their own repairs, such as replacing a broken glass digitizer or cracked LCD screen. Using this tear down tutorial in conjunction with our written guide below will show you the proper steps to take when disassembling this device.
This repair guide will help when needing to install the following Asus Eee Pad Transformer Prime TF201 parts:
- Asus Eee Pad Transformer TF201 Touch Screen Digitizer Replacement
- Asus Eee Pad Transformer TF201 LCD Screen Replacement
Required Tools:
- Small Phillips Screwdriver
- Adhesive Strips
- Safe Open Pry Tool
- Heat Gun or Blow dryer
How to Fix an Asus Eee Pad Transformer Prime TF201 (Step-by-Step Tutorial) :
Asus Eee Pad Transformer Prime TF201 Repair Guide:
- Before starting the repair, it is important to make sure your device is completely powered off.
- Next you can take your pry tool and remove the back cover starting from the top of the device. Wedge the pry tool between the back cover and the device, releasing the clips from the top and then moving the tool along the seams on the sides.
- When going to remove the back cover, be very careful not to rip the two (2) flex cables that are still attaching it to the device.
- Release these two (2) flex cables before removing the screen completely. These are the Touch Screen flex cable and the LCD flex cable. These cables are released by simply lifting the black tabs at the top of each cable with the pry tool (shown in Figure 1.2 and 1.3). You may need to reposition the device to get the best angle for releasing each one.

- Once the flex cable have been safely released, you can take the screen portion of the device and unscrew the two (2) Small Phillips screws highlighted in red in Figure 1.4.
- Next, use a heat gun (on low heat settings) or a hair dryer (on mdeium heat settings) to heat the edges of the screen for 30 to 45 seconds. This will loosen the adhesive that binds the Touch Screen to the rest of the device, making it easier to remove.
- Once the edges are sufficiently heated, use the pry tool to gently wedge between the Touch Screen and LCD screen. Pull back any tape that may be in the way. If the adhesive is still being stubborn, rehaeat the edges again (for no more than 30 seconds at a time). With the pry tool, slowly work your way around the outside edges where the two screens attach until they separate.
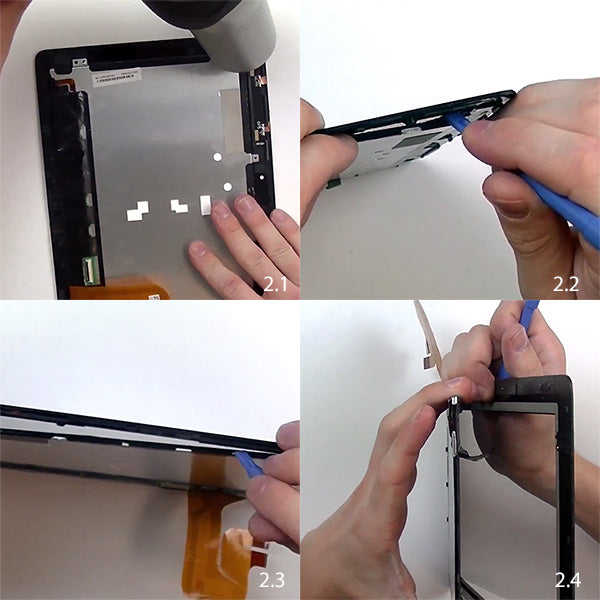
- If you want to completely isolate the Touch Screen, your next step is to remove it from the plastic housing. To do this, heat the edges of the screen as you did when remving the Touch Screen from the LCD screen. The plastic housing is very thin, so lower heat settings/time periods are recommended so the plastic does not warp.
- Carefully wedge the pry tool into the easiest entry point you can find between the screen and the frame, trying to get underneath the adhesive. There are thin areas of the frame around the sides, so take your time finding an entry point and then wedging the pry tool along the sides.
- There is a lot of adhesive binding the Touch Screen to the frame, so remember to use extra adhesive here when attaching your new Touch Screen.

- Simply reverse the order of these steps to install your new parts and reassemble your device.
Notice:
Repairs Universe's guides are for informational purposes only. Please click here for details.
Learn about restrictions on reproduction and re-use of Repairs Universe's repair/take-apart/installation guides, and about creating hyperlinks to our guides