HTC Freestyle Take Apart Repair Guide
June 4, 2018 | 0 Comments
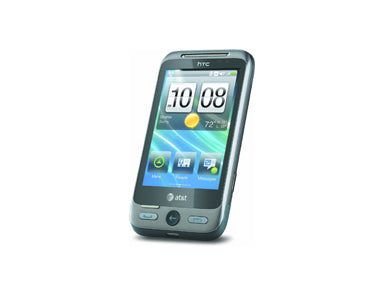
This video repair guide for the HTC Freestyle will walk you through the steps needed to disassemble and repair your touch screen glass digitizer and LCD screen. Following this guide will insure a quick and safe repair for your Freestyle's faulty screen or other internal parts. This guide was put together by the RepairsUniverse team.
This guide will help you to install the following HTC Freestyle part(s):
- HTC Freestyle Touch Screen Digitizer Replacement
- HTC Freestyle LCD Screen Replacement
Tools Required:
- Safe Open Pry Tool
- Small Phillips Screwdriver
- T5 Torx Screwdriver
- Hot Air Gun / Hair Dryer (optional)
HTC Freestyle Take apart guide:
We recommend watching the below video from start to finish before starting the repair, and then pausing / rewinding and reviewing when needed.
Reverse the instructions above to reassemble your phone.
Applying Adhesive to the Touch Screen Digitizer:
HTC Freestyle Screen Repair Summary:
This is a written summary of the repair guide. Following this guide in correlation with the video will insure proper instructions are given.
- The first step to disassembling the Freestyle is to remove the back covers, upper and lower. Pry off the upper cover using a safe open pry tool. Using a Torx T5 screwdriver, remove the five screws located under the bottom cover.
- Release the antenna cable and lift the circuit board up and release the flex cable underneath. Remove the phone from the housing. Use a small phillips screwdriver to remove three screws located on the tops, left, and right side of the phone.
- Using a safe open pry tool, release the power button flex cable from the top of the phone. While holding the camera in place, carefully pry off the metal plate from the rest of the phone.
- Remove the motherboard by using a safe pry tool to unlock the two "pop" connectors and the single alligator clip, or "jaw" connector.
- Use a hair dryer or heat gun to heat the front of the touch screen to loosen the adhesive then separate the digitizer from the phone, careful as it is still held in by a flex cable. Reheat the phone to loosen the adhesive holding the LCD screen in place.
- Remove the LCD screen and touch screen digitizer from the rest of the phone. Gently peal the flex cable from the back of the LCD screen to remove the digitizer. Replace either your touch screen glass or the LCD screen and reassemble.
Notice:
Repairs Universe's guides are for informational purposes only. Please click here for details.
Learn about restrictions on reproduction and re-use of Repairs Universe's repair/take-apart/installation guides, and about creating hyperlinks to our guides.