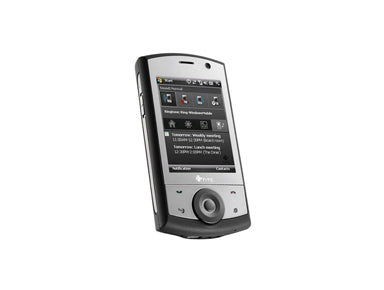
HTC Touch Cruise Take Apart Repair Guide
June 4, 2018 | 0 Comments

RepairsUniverse has compiled this written guide to show how to take apart and disassemble the HTC Touch Cruise cell phone. This shows the method used to quickly and safely open your phone so you can install a replacement LCD screen and glass touch screen digitizer.
This guide will help you to install the following HTC Touch Cruise replacement parts:
- HTC Touch Cruise LCD Screen Replacement
Tools Required:
HTC Touch Cruise disassembly guide:
- First, remove the back battery cover and remove the battery and the sim.
- Use T5 Torx Screwdriver to remove the two (2) screws from the outside corners as shown in Figure 1.

- Next, remove the back housing and the top shell by simply prying off using safe pry tool.
- There will be two (2) more Torx T5 screws above the camera in each corner that will need to be removed.
- Be careful as there are 2 small ribbons connected to the motherboard, one is held in place with adhesive, the other (digitizer) is locked in-place with a jaw connector. Open the jaw and release this cable.

- Next, remove the front housing using safe pry tool and be careful not to tear the flex cables.
- Pull the LCD ribbon out. Once the LCD ribbon is out, the motherboard is now totally separated from the front housing.

- Remove the LCD screen using safe pry tool. Be careful to pull the old screen as it is held in place with adhesive.
Simply replace the damaged parts with the new ones and reverse the order to put your phone back together again.
Notice:
Repairs Universe's guides are for informational purposes only. Please click here for details.
Learn about restrictions on reproduction and re-use of Repairs Universe's repair/take-apart/installation guides, and about creating hyperlinks to our guides.

