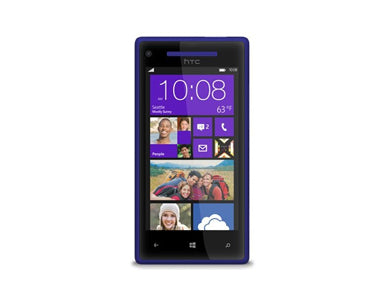
HTC Windows Phone 8X Repair Guide
June 4, 2018 | 0 Comments
The Repairs Universe team has put together a take apart repair guide for replacing various parts on your Windows Phone HTC 8X. In this guide you will learn the steps to properly take your HTC smartphone apart safely. Repair nearly any internal component on your Windows Phone HTC 8X using this detailed repair guide.
This guide will help you to install the following Windows Phone HTC 8X part(s):
Tools:
Windows Phone HTC 8X Screen Repair Take apart Guide:
- You want to begin by applying heat to around the surface edges of the device for about 15-20 seconds on each side. You can use a hot blow dryer or a heat gun.
- Next you will need to use the safe open pry tool and begin separating the screen assembly from the frame of the device as shown below.

- Once you have properly separated the front of the phone from the device you will need to disconnect 3 Flex ribbon connections that are holding the device together.
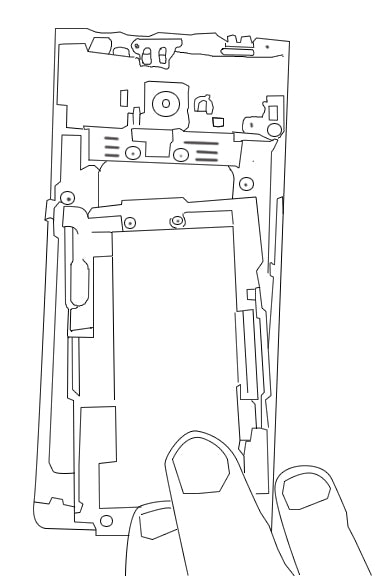
- Once these connections have been released the front screen assembly can be removed from the back housing frame of the device.
- Next you will need to turn the screen assembly (screen facing down) with the mother board facing you.
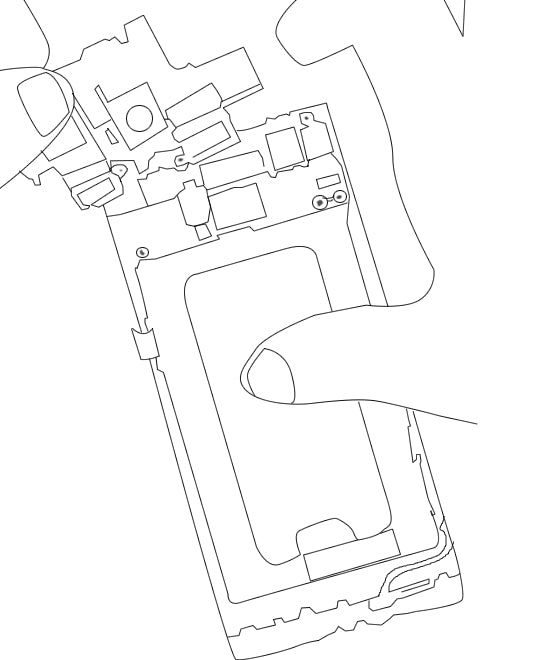
- Using a small Phillips screw driver, you can begin removing 12 screws from around the edges of the screen assembly.
- Once these screws have been removed you can begin disconnecting the Flex ribbon cables and Antenna flex cables (5 total).
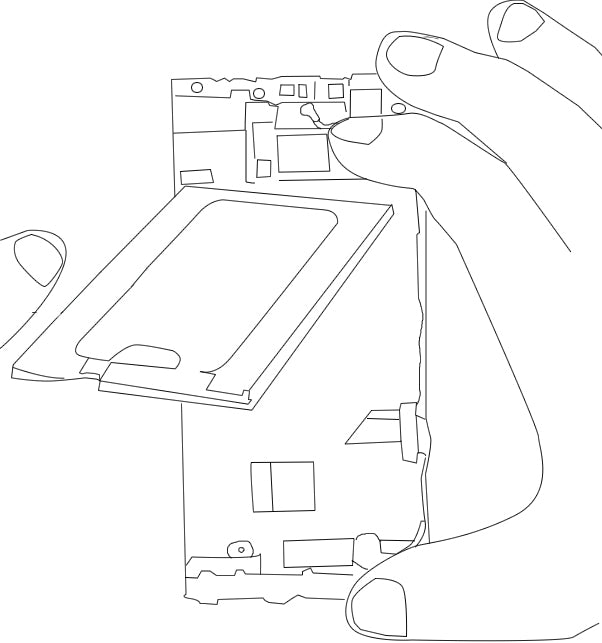
- The LCD and the Touch screen digitizer are held in by a jaw connector that can be lifted to release the ribbon.
- The two antenna flex cables can simply be pulled out and the Key pad flex cable is a pop connection that can be released using a safe open pry tool.
- You can now remove the motherboard.
- Once the motherboard has been removed you can remove the upper back frame.

- Now that the back housing and mother board have been removed, you can release the second connections of the antenna flex cables.
- There are 2 small flex ribbons that will need to be released on the left and right side on top of the green mainboard.
- Next you want to move the vibrating motor (next to the camera) out of the way so you can remove the upper mainboard.
- Next step is to remove the ear jack and ear piece speaker.
- You can now remove the battery and once you have done so you will have one more antenna cable to release and remove.
- Now remove the charging connector and the home button from the upper part of the device.
- You can now replace the damaged screen for the Windows Phone HTC 8X.
Notice:
Repairs Universe's guides are for informational purposes only. Please click here for details.
Learn about restrictions on reproduction and re-use of Repairs Universe's repair/take-apart/installation guides, and about creating hyperlinks to our guides.

leave a comment
Your email address will not be published. Required fields are marked *