LG Optimus G Pro Take Apart Repair Guide
June 4, 2018 | 0 Comments
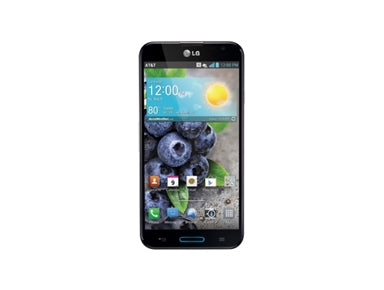
Looking to repair a broken screen on your LG Optimus G Pro? This repair guide from RepairsUniverse will help walk you through each step of taking apart your Optimus G Pro and how to replace a damaged screen or other internal components.
This guide will help you install the following LG Optimus G Pro part (s):
- LG Optimus G Pro Touch Screen Digitizer Replacment
- LG Optimus G Pro LCD Screen Replacement
- other internal parts
Required Tools:
- Safe Pry Opening Tool
- Small Phillips Screwdriver
- Adhesive Strips (For touch screen / assembly repairs)
- Heat Gun/Hair Dryer
Optimus G Pro Repair Guide:
How to fix a LG Optimus G Pro (Step-by-Step Guide) :
- To begin your repair, insure your device is fully powered off.
- From there, remove the back battery cover and take out the battery, sim card, and memory card.
- You can then remove the fourteen (14) small Phillips screws surrounding the back housing of your device.

Figure 1
- Use your plastic pry tool to now separate the back housing from the rest of the device. Gently slide the pry tool along the seam and release all the clips holding the bach housing in place. Be careful of the side buttons as they will likely fall out during this process.
- With the back housing now removed you now have access to the motherboard
- Remove the five (5) pop connections located on the motherboard (orange on figure 2) and remove the camera from its socket.

Figure 2
- With all the connections released you can now lift the motherboard up slightly, being cautious of the tab located in green on the right (skinny side) of the motherboard. Gently lift the top and bottom and shimmy it to the right.
- With the motherboard removed you can now lift up the touch screen flex cable (near the headphone jack) and gently lift out the ear speaker assembly.
- At the bottom of the device is you can use a pry tool to gently release the clips holding the key button cable in place. Remove the home button.
- We are now able to remove the small button flex cable on the left side of the device. This is held in place with adhesive to the housing and will require you to very gently lift it up using a pry tool. This thin cable is extremely vulnerable to heat, so removing this before we start warming the screen assembly is highly suggested.
- We can now warm the adhesive holding the housing to the screen assembly. We suggest using a heat gun or hair dryer on a medium heat on the front of the screen. Use quick movements and work your way around the outside edges for about 45 seconds.
- Once the adhesive is properly warmed you can then use a safe open pry tool and pry in the seam between the touch screen and housing. We suggest starting near the top or bottom and then working your way along the sides. The LCD screen will be removed with the touch screen, so be sure to lift it at the same time. Once enough adhesive is removed you can then remove the screen assembly. If your LCD is attached to the digitizer, use your heat gun and apply 15 -30 seconds worth of heat to the outside edges of the screen. You will then use a pry tool to gently separate the screens.
Simply replace the damaged parts with the new ones and reverse the order to put your Optimus G Pro back together again.
Applying Adhesive to the Touch Screen Digitizer:
Notice:
Repairs Universe's guides are for informational purposes only. Please click here for details.
Learn about restrictions on reproduction and re-use of Repairs Universe's repair/take-apart/installation guides, and about creating hyperlinks to our guides.