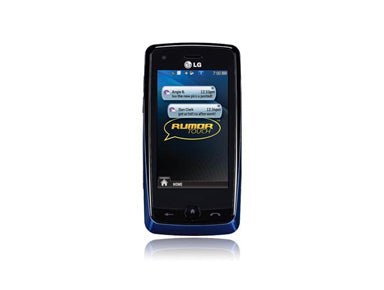
LG Rumor Touch LN510 Take Apart Screen Repair Guide
June 4, 2018 | 0 Comments
View the downloadable version of our how to fix a LG Rumor Touch LN510 screen guide.
This written repair guide for the LG Rumor Touch LN510 will walk you through the full disassembly process in order to repair or replace the LCD screen, ear speaker, or nearly all other internal parts. Following this guide will insure a safe and quick repair is made.
This guide will help you to install the following LG Rumor Touch LN510 part(s):
Tools Required:
LG Rumor Touch LN510 Take apart guide:
- Start by removing the battery door and the battery and the back housing.
- Use a small Phillips screwdriver and remove 6 screws located on the back housing. 2 are located on the top section, 2 more are located near the battery compartment, and the final 2 are near the bottom of the phone.

- Next remove the anti- dust plugs on the sides and the back housing with a tool. Better slide open the phone first. Then start from the top side and pry along the side, as pictured in figure 2. Now put back the housing aside.
- Pull all of the ant-dust plugs from the side of the phone, this includes the charge cable ports, etc.
- With the phone in the open position, use a safe open pry tool to remove the back housing. Slide the tool along the edges to release the clips.
- With the back housing removed, you can now locate the motherboard.
- The model sticker (has part #'s and bar codes) will need to be removed, as it is covering 2 small Phillips screws. Use a pry tool or knife to remove the sticker.

- Remove the 2 screws and remove the small metal plate that they are holding in place.
- With the metal plate removed, disconnect the flex cable. This is a pop connector, use a safe open pry tool to pry the connector up.
- Release the round vibrator motor from the adhesive holding it in place. You can now lift the motherboard from the phone.
- Put the motherboard to the side and remove the 6 small Phillips screws holding the slide portion of the phone. All six screws are located above the keyboard.
- You will then need to maneuver the flex cable through the housing. This is held in place with adhesive. You a pry tool to release the adhesive and remove the housing.
- You can now remove the slide mechanism, the slide rail has 4 small Phillips screws holding it in place, one in each corner.

- Pry along the outside edges of the phone, being careful of the flex cable. Push the metal slide away from the flex cable and maneuver it through the backing.
- You are now faced with the front panel containing the ear speaker, LCD screen, and outer glass.
- Remove the front speaker and disconnect the clip located at the top of the phone.
- Release the pop connector located at the bottom of the phone. Also peel off the adhesive film located next to the main connector.

- You can now lift the LCD screen from the rest of the phone, starting at the top, near the speaker.
- Once the LCD screen has been removed, the flex cables can transfer to a new LCD screen, or other internal parts can now be replaced.
- At this point the phone is fully disassembled. Follow these steps in reverse to reassemble your phone.
Notice:
RepairsUniverse does not accept any liability for damage, or injury caused, while you are following our disassemble guides. We make no representations, warranties, or conditions of any kind, express or implied. Utilizing these guides to assist you in repairing your mobile devices will void your warranty. RepairsUniverse strictly prohibits altering or modifying our teardown guides for commercial use, reproduction, or publication