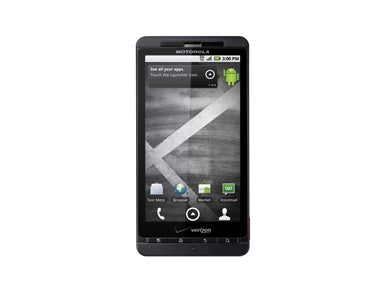
Motorola Droid X Video Repair Guide
June 4, 2018 | 0 Comments
The RepairsUniverse team has put together a detailed instructional video for the Motorola Droid X. This guide will walk you through the necessary disassembly steps, as well as replacement of the touch screen digitizer and LCD screen. This guide is also great when replacing other internal parts because it shows nearly a complete tear-down of the Droid X.
This guide will help you to install the following Motorola Droid X parts:
Tools Required:
Motorola Droid X LCD Screen Replacement Video Guide:
We recommend fully watching the video before starting the repair, and then pausing / rewinding and reviewing when needed.
Motorola Droid X Touch Screen Digitizer Repair Video Guide:
We recommend fully watching the video before starting the repair, and then pausing / rewinding and reviewing when needed.
Simply reverse the instructions above to reassemble your phone.
Applying Adhesive to the Touch Screen Digitizer:
Motorola Droix X Written Take Apart Repair Guide:
- The first step is to power down the phone and slip open the battery door so that the battery of the Droid X can be removed.
- Removing the U-cover and the top cover is the first task at hand which can be achieved by unscrewing the two screws to using the Small Phillips Screwdriver as shown in the figure below.

- This next step involves locating and removing the four screws (2 on the top and 2 on the bottom) on the front end of the phone. These screws are hidden behind covers which should be removed by inserting the safe open pry tool into one end of the phone twisting it to one side till you hear a click which signals that the plastic latch has been unlocked do this for all three sides of each of the two covers. You should also now be able to remove the U-Cover located on the bottom of the phone using the safe open pry tool.

- The next task at hand is to remove the back housing of the Droid X. This can be achieved by inserting the safe open pry tool into one end of the phone and running it along its edges. However be careful because the digitizer cable and the flex cable are hidden under the back cover which can easily be damaged if you apply too much force.
- You will now need to remove the motherboard of the Droid X which begins with disconnecting the flex cable and digitizer cable (on the right of the phone) from the motherboard using the safe open pry tool. The flex cable can be pried right off while the digitizer cable will first need to be unhooked and then pulled out.
- The motherboard pops right out, but be careful because there is a cable attached to the other end of the board which will need to be unfastened prior to being able to completely remove the motherboard. You can use the safe open pry tool to disconnect that cable as you slightly dangle the motherboard to insert the pry tool through.
- In this next step you will have to take apart the digitizer and LCD assembly which are separated by a middle plate. There are around thirteen screws securing the middle plate to the digitizer and LCD which need to be removed using the small Phillips screwdriver prior to prying out the middle plate. Also make sure that there aren't any small clips attached to the plate prior to pulling it out.
- Once you separate the LCD and digitizer the Droid X is now completely disassembled.

There you have it, the Droid X is completely disassembled. You can now replace old or faulty parts prior to putting everything back together following this guide in reverse.
Notice:
Repairs Universe's guides are for informational purposes only. Please click here for details.
Learn about restrictions on reproduction and re-use of Repairs Universe's repair/take-apart/installation guides, and about creating hyperlinks to our guides.
