Nokia Lumia 900 Take Apart Guide
June 4, 2018 | 0 Comments
Take apart your Nokia Lumia 900 using this detailed repair guide from Repairs Universe. If you have damaged your Lumia or need to repair internal components, look no further than this full disassembly guide. Following this guide will insure a quick repair can be made on your Nokia smartphone.
This guide will help you to install the following Nokia Lumia 900 part(s):
Tools Required:
- Safe Open Pry Tools
- Small Phillips Screwdriver
- Torx T5 Screwdriver
- Adhesive Strips (For Touch Screen Repair)
Nokia Lumia 900 Take apart guide:
- The first step will be to power down the device. Once this is complete you will need to use a paper clip or sim card ejector to remove the sim card tray. Now, on the corner of the sim card tray slot there will be a small black cover that will need to be removed.
- With the cover removed we can now insert our sim card ejector or paper clip into the small hole at an outside inside angle. Once you have got a grip on the hole in the lock pin you will be able to pull the pin out fully as shown in Figure 1.
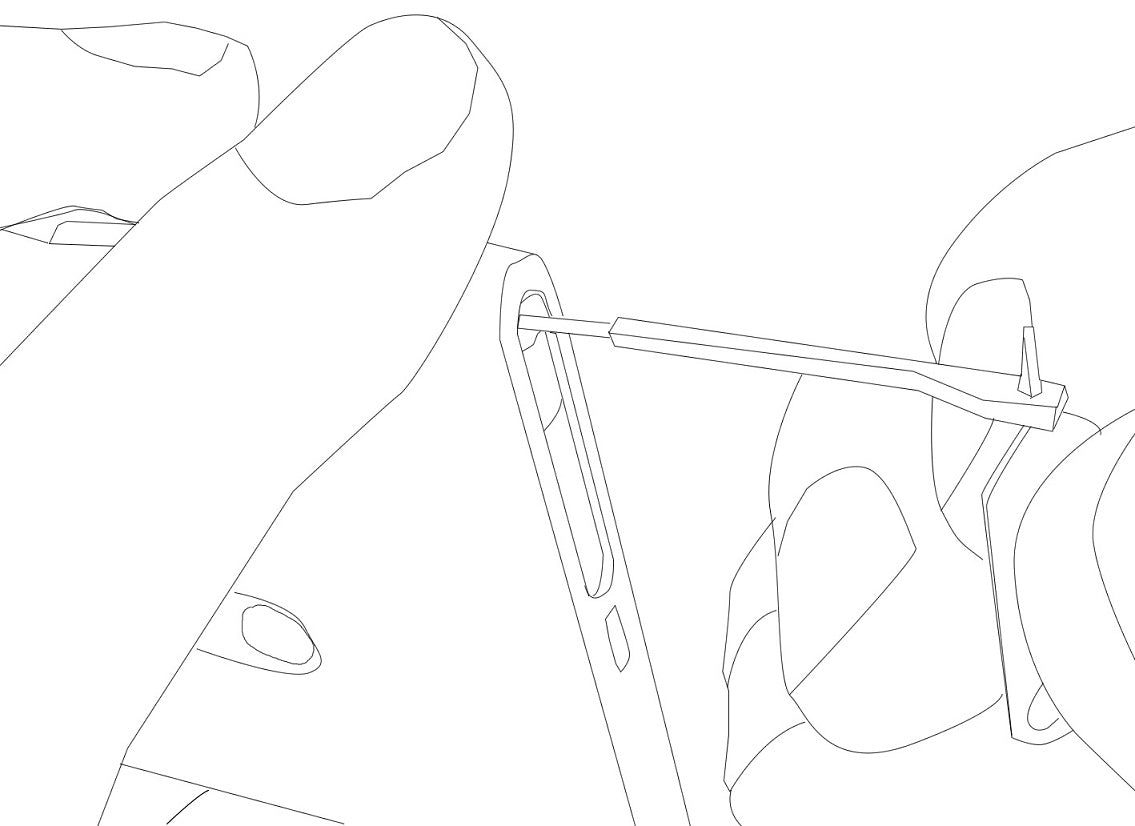
Figure 1
- We can now use a safe open pry tool to begin releasing the screen from the rest of the device. Be careful as it is connected with two (2) flex cables on the left side. Flip the screen to the left.
- There will be 3 small Phillips screws which now need to be removed. There will also be seven (7) T5 screws which will need to be removed as shown in Figure 2.
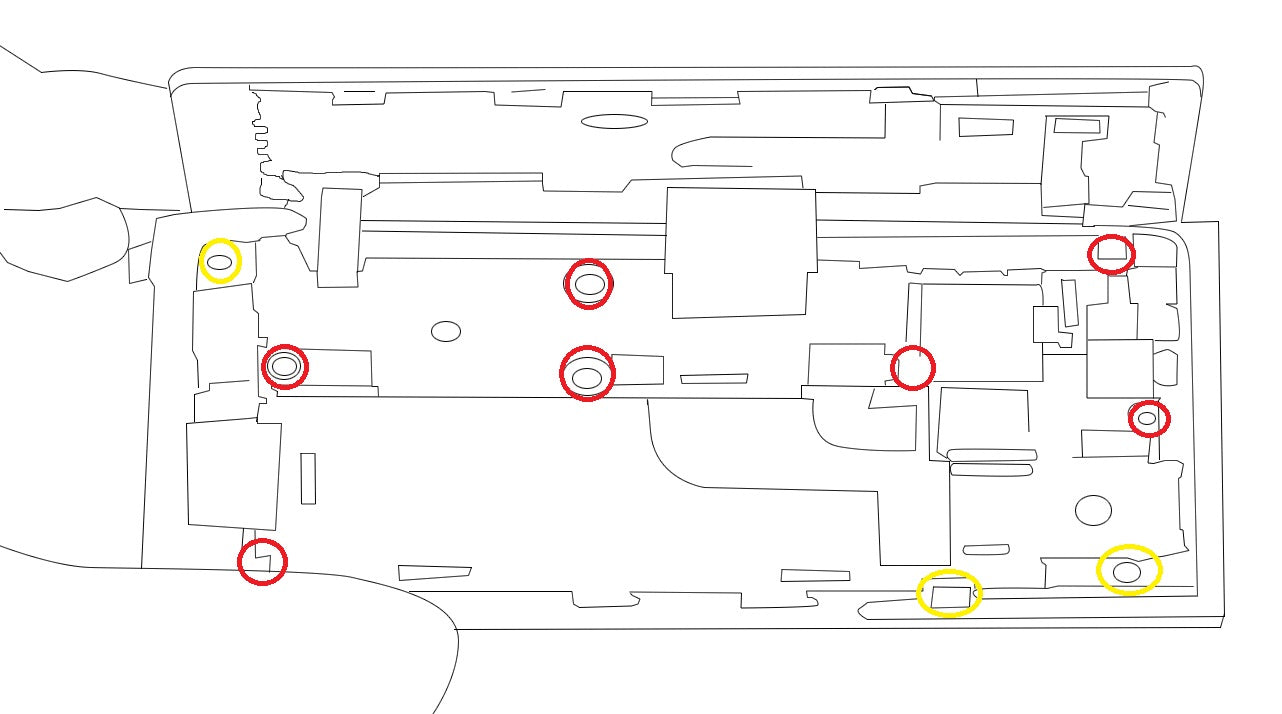
Figure 2
- We can now use a safe open pry tool to gently metal plate. Note that there will be some adhesive holding this large metal place onto the battery.
- Once the metal plate is removed, release the two (2) pop connectors on the motherboard from the screen assembly.
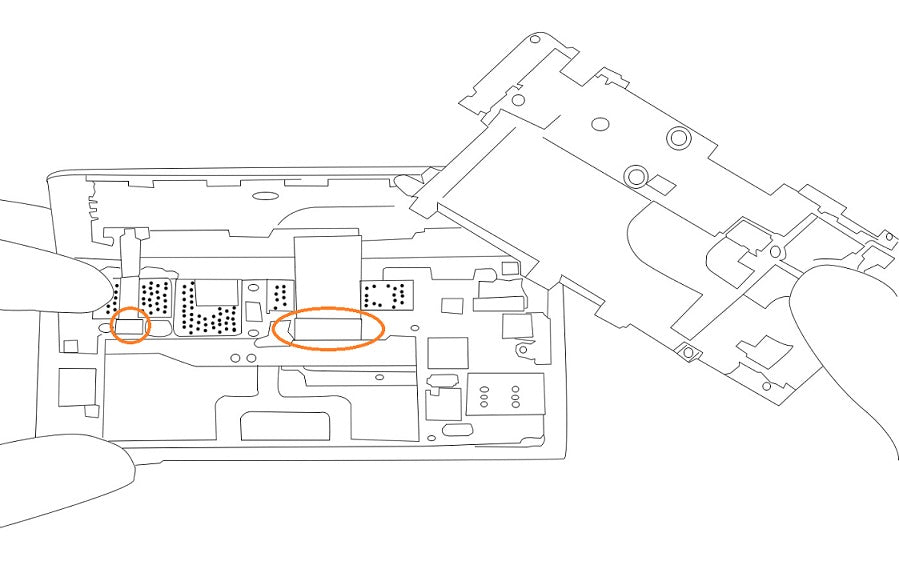
Figure 3
- The screen assembly can now be removed.
- To remove the battery, release its pop connector and begin prying it up. It will be held in place with a large amount of adhesive, so be careful not to bend the battery.
- To remove the motherboard, release the final connection in the center of the motherboard and pry it out at a downward angle.
Your Nokia Lumia 900 is now fully disassembled.
Notice:
Repairs Universe's guides are for informational purposes only. Please click here for details.
Learn about restrictions on reproduction and re-use of Repairs Universe's repair/take-apart/installation guides, and about creating hyperlinks to our guides.