Nexus 7 Take Apart Repair Guide
June 4, 2018 | 0 Comments
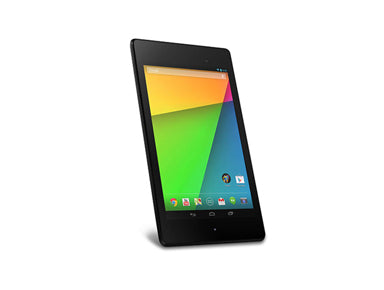
Our take apart repair guide shows how to disassemble the Google Asus Nexus 7 tablet quickly and safely. This guide designed by the Repairs Universe team and will walk you through each step required to fully disassemble your Google Nexus 7 tablet to replace internal components.
This repair disassembly guide will help you to install the following Google Asus Nexus 7 parts:
- Nexus 7 LCD + Touch Screen Assembly
- Nexus 7 Touch Screen Digitizer Replacement
- Other Nexus 7 internal parts
Tools Required:
- Safe Open Pry Tool
- Small Phillips Screwdriver
- Adhesive Strips (For Touch Screen Replacements)
- Hot Air Gun / Hair Dryer
Nexus 7 Repair Guide:
How to Fix a Nexus 7 (Step-by-Step Guide) :
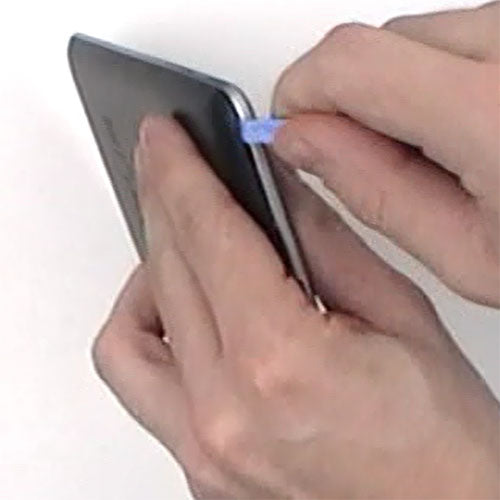
- Power off the device
- Begin by using the safe open pry tool to separate the back cover from the device by sliding the pry tool which release the clips and the back cover should come right off
- With the back cover removed, disconnect the battery by simply pulling out the connection with the safe open pry tool
- You can now remove the battery using the safe open pry tool
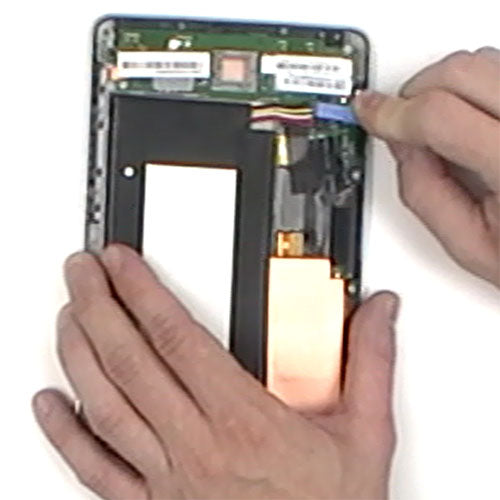
- Starting from the lower right side, slowly start pulling up the copper tape
- Gently remove the black tape covering the LCD connection, Note- the metal shield may come off with the tape which is fine
- Next you will need to release 5 connections located in this area, the 2 for the yellow ribbon (jaw connection) is for the USB and audio jack, the 2 jaw connections next to each other are for the touch screen digitizer and the single pop connection is for the LCD
- On the top left (under the information sticker) you will need lift up and release the jaw connection holding in the volume button flex cable and then remove the cable which is held in place by adhesive
- Using the small Phillips screwdriver you will need to remove 7 Phillips screws which are holding the motherboard in place
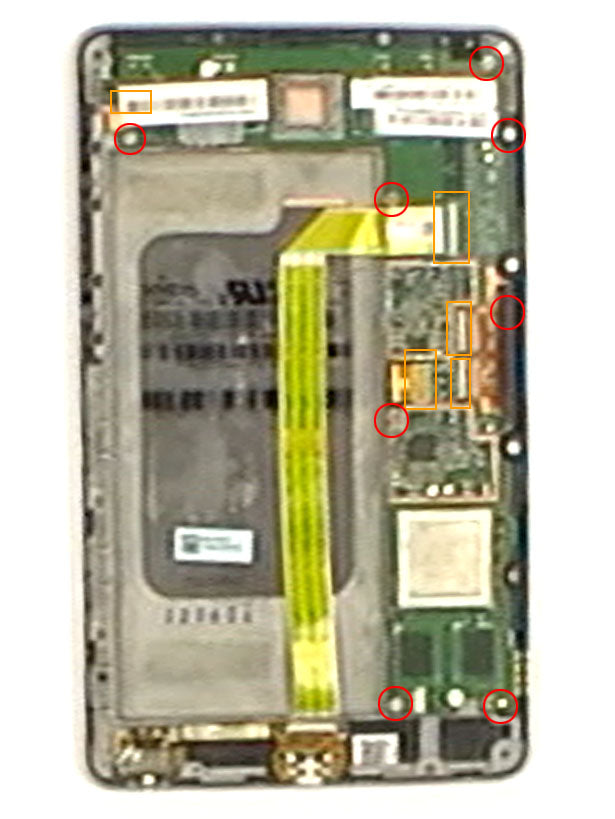
- On the bottom remove 5 Phillips screws which are holding the audio jack and USB charging port

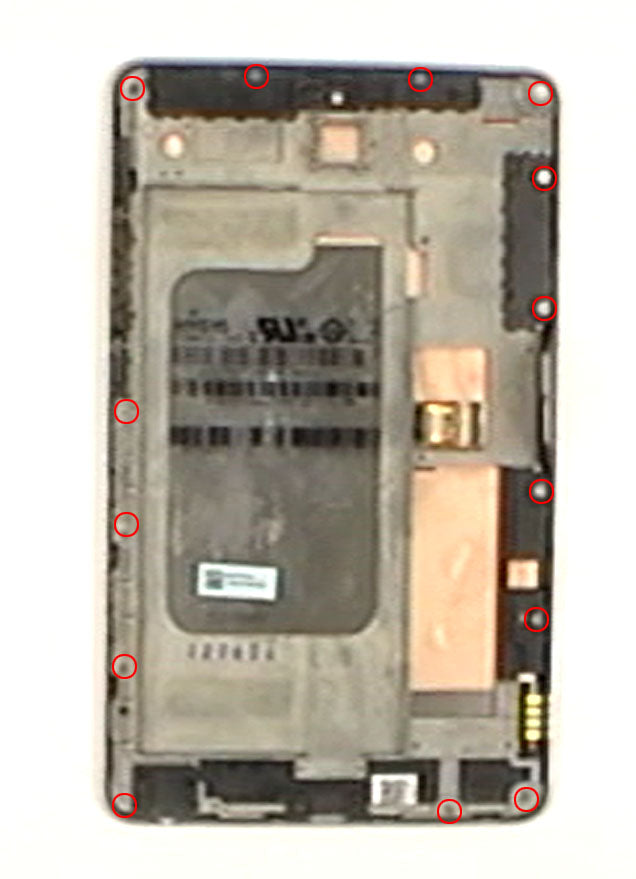
- Around the perimeter there is 14 more screws that will need to be removed in order to remove the mid frame
- Next remove the jumper flex cable by releasing the jaw connection
- Now you will need to apply heat, use a hot hair dryer or heat gun for about 15 seconds on each side warming and loosening the adhesive
- You can now separate the screen assembly from the frame of the front assembly
Simply replace the damaged parts with the new ones and reverse the order to put your tablet back together again.
Applying Adhesive to the Screen Assembly:
Notice:
Repairs Universe's guides are for informational purposes only. Please click here for details.
Learn about restrictions on reproduction and re-use of Repairs Universe's repair/take-apart/installation guides, and about creating hyperlinks to our guides.