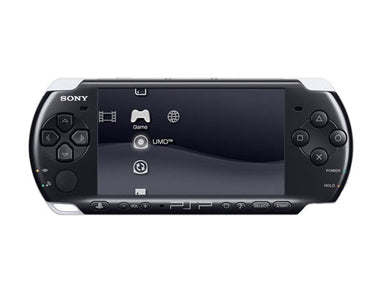
PSP 3000 Series LCD Screen Repair Guide
June 4, 2018 | 0 Comments

In this video we will show you how to disassemble your PSP 3000 Series safely and easily so you can install any replacement parts and repair your PSP. This is an easy-to-follow guide to show how to replace the PSP 3000 Series LCD screen. Replacing your LCD screen will repair all common display issues you may be having on your PSP.
This guide will help you to install the following Sony PSP part(s):
Tools Required:
PSP 3000 Series LCD screen repair guide:
We recommend watching the below video from start to finish before starting the repair, and then pausing / rewinding and reviewing when needed.
Reverse the instructions above to reassemble your iPod.
Sony PSP 3000 LCD Replacement Summary:
Using this summary in correlation with the video will insure proper instructions are given and a safe repair is made.
- First turn off the PSP over and remove the battery. Once done, remove the 7 small Phillips screws. Use the safe pry tool to release the casing. Release the clips of the bottom bar. It has one clip both sides holding.
- �Using a safe pry tool, you need to release the clips on the sides of the LCD screen. Pull the LCD screen forward. Be careful as it is connected to the motherboard.
- Release the LCD screen from the motherboard to do this, release the 2 lock jaw connectors. Lift the connectors using a safe pry tool.
- Now you can gently release the LCD screen from the motherboard. You are now ready to install your replacement LCD screen.
Notice:
Repairs Universe's guides are for informational purposes only. Please click here for details.
Learn about restrictions on reproduction and re-use of Repairs Universe's repair/take-apart/installation guides, and about creating hyperlinks to our guides.
