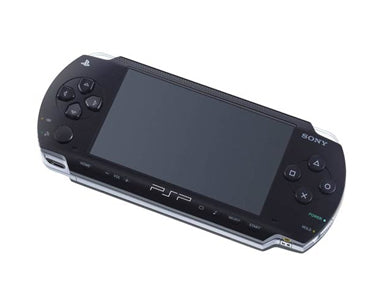
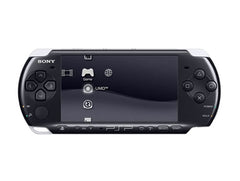
PSP LCD Screen Display Replacement Fitting Instructions
June 4, 2018 | 0 Comments

This Repair Guide is designed to help you replace the LCD screen & repair your PSP console. Replacing the LCD screen should be an easy install with the instructions below.
This guide will help you to install the following Sony PSP part(s):
Tools Required:
PSP LCD screen repair guide:
We recommend watching the below video from start to finish before starting the repair, and then pausing / rewinding and reviewing when needed.
Reverse the instructions above to reassemble your PSP.
Sony PSP LCD Replacement Summary:
Using this summary in correlation with the video will insure proper instructions are given and a safe repair is made.
- First remove the battery for the unit. Remove all the screws from the bottom and some in the inside. With the small Philips screw driver.
- Once removed the screws from the back. Slowly pull out the front of the PSP. Remove the bottom, just pull it down and lift this up to reveal a small clip holding the ribbon in. use a small screw driver and remove the ribbon.
- Remove the 4 metal clips in the screen. You can use kitchen knife in removing this. After that, gently lift the screen up and move it forward.
- Lift up the two clips before the ribbon can be removed. To re assemble the PSP do the reverse steps. You can now change your PSP screen.
Notice:
Repairs Universe's guides are for informational purposes only. Please click here for details.
Learn about restrictions on reproduction and re-use of Repairs Universe's repair/take-apart/installation guides, and about creating hyperlinks to our guides.
