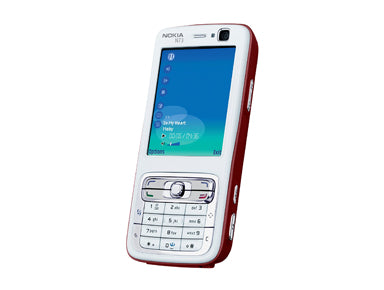
Nokia N73 Take Apart Repair Guide
June 4, 2018 | 0 Comments
This take apart repair guide shows how to disassemble the Nokia N73 cell phone quickly and safely. This guide designed by the Repairs Universe team.
This guide will help you to install the following Nokia N73 parts:
- Nokia N73 LCD Screen Replacement Display
Tools Required:
- Safe Open Pry Tool
- Triangle Safe Open Pry Tool (Optional)
Nokia N73 Take apart guide:
- In order to disassemble a Nokia N73 phone first of all you need to remove the battery cover (back cover) of the phone. Then remove the battery, memory card and the SIM card.
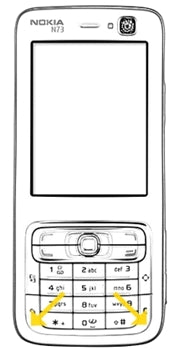
- Pry up the front cover frame by using the safe open pry tool. It is recommended to start from either of the bottom corners of the phone. First insert the safe open pry tool between the cover and the keypad of the phone (as indicated in the above figure) to unhook the clip underneath. Do not apply too much pressure as this may damage the front cover. You can use Triangle Safe Open Pry Tool in conjunction with Safe Open Pry Tool for prying up the cover frame safely and conveniently.
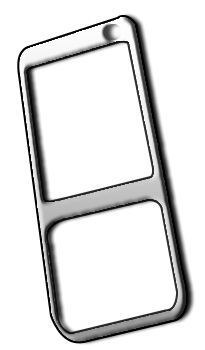
- Do the same to unclip the clip from the other side. Once you have undone the clips, run the tool gently along the sides of the cover to unclip all the clips. This should remove the cover without much difficulty. The removed cover is shown in the figure above.
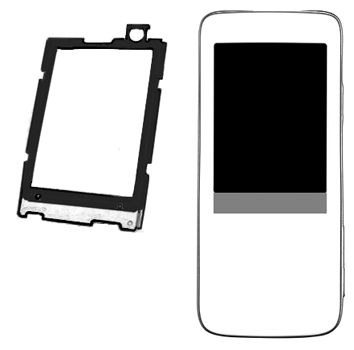
- Now you need to remove the display shield which holds the LCD screen in place. You need to pry the display shield up using the safe open pry tool to unlock the clips holding it in place. The above figure shows the removed display shield.
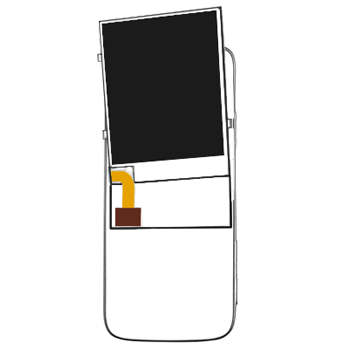
- Once you have the display shield removed, the next step is to remove the LCD which will now be loose enough to be lifted up. Gently lift up the LCD using the safe open pry tool but be very careful as you still have to remove a ribbon cable to be able to free the LCD. To disconnect this cable you need to gently lift it and it will pop out. The above figure highlights the location of the ribbon cable (orange color) and the connector (small brown rectangle).
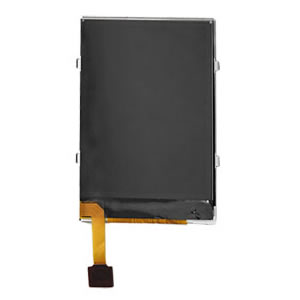
- Once you have disconnected the ribbon cable, the LCD can now be lifted up and removed. Your Nokia N73 is now disassembled and you can replace the damaged LCD with a new one.
Reverse the instructions above to reassemble your phone.
Notice:
Repairs Universe's guides are for informational purposes only. Please click here for details.
Learn about restrictions on reproduction and re-use of Repairs Universe's repair/take-apart/installation guides, and about creating hyperlinks to our guides.
leave a comment
Your email address will not be published. Required fields are marked *