HTC First (Facebook Phone) Repair Guide
June 4, 2018 | 0 Comments
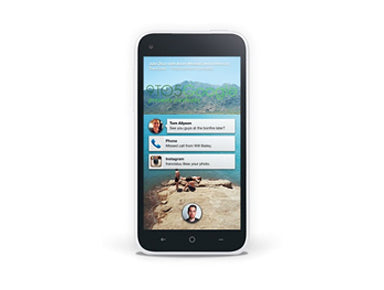
Repair a broken or cracked HTC First screen or other internal component using this detailed, step by step repair guide. We walk you through each step you will need to perform to safely and effectively open your device and repair most major components.
This guide will help you install the following HTC First part (s):
- HTC First Touch Screen Digitizer Replacement
- HTC First LCD Screen Replacement
- HTC First LCD + Touch Screen Digitizer Replacement
Required Tools:
- Safe Pry Opening Tool
- Small Phillips Screwdriver
- Adhesive Strips
- Heat Gun/Hair Dryer
HTC First Screen Repair Guide:
How to fix an HTC First (Step-by-Step Guide) :
-
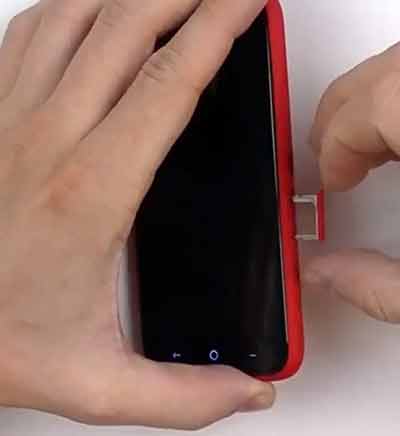
To begin your repair you will need to fully power off your HTC First. Once it is powered off you can begin by removing the Sim Card Tray located on the right side of the device with a paper clip or sim card removal tool.
-
Once the sim card tray is removed you can then use a safe open pry tool to remove the back cover. Start near the bottom and slowly work your way around the edges and the bottom, releasing the screen assembly and motherboard from the back housing. If you need to remove the loud speaker, it is located on the bottom of the back cover, and is fairly easy to dislodge.
-
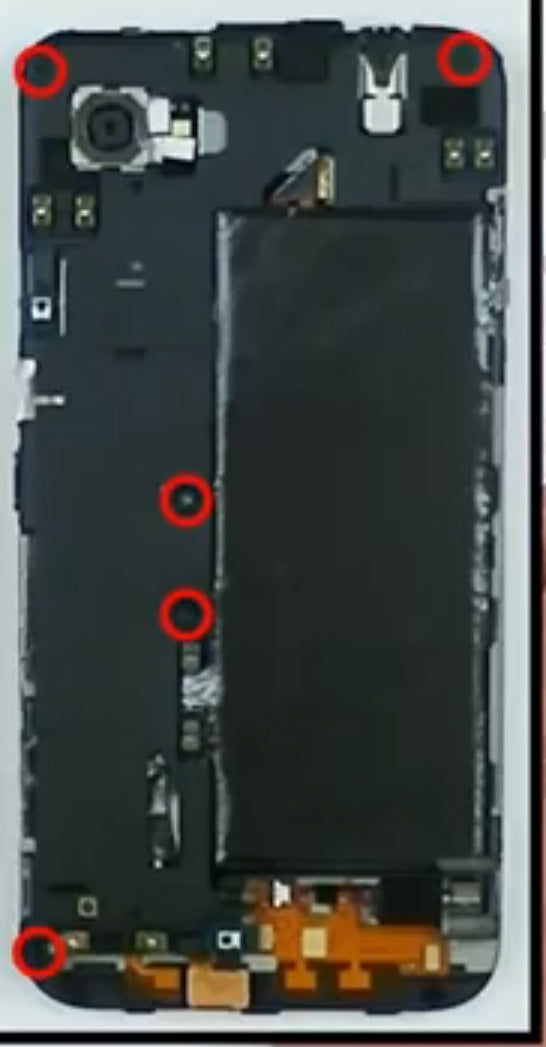
Once the back cover is removed, you can now remove the five (5) Small Phillips screws with a Small Phillips Screwdriver. These screws are located primarily on the left side of the device, and are highlighted in the diagram below. Once these are removed, there is a clip in the top right that wil need to be released. Once it is released, there will be a plastic cover you can remove, as shown below.
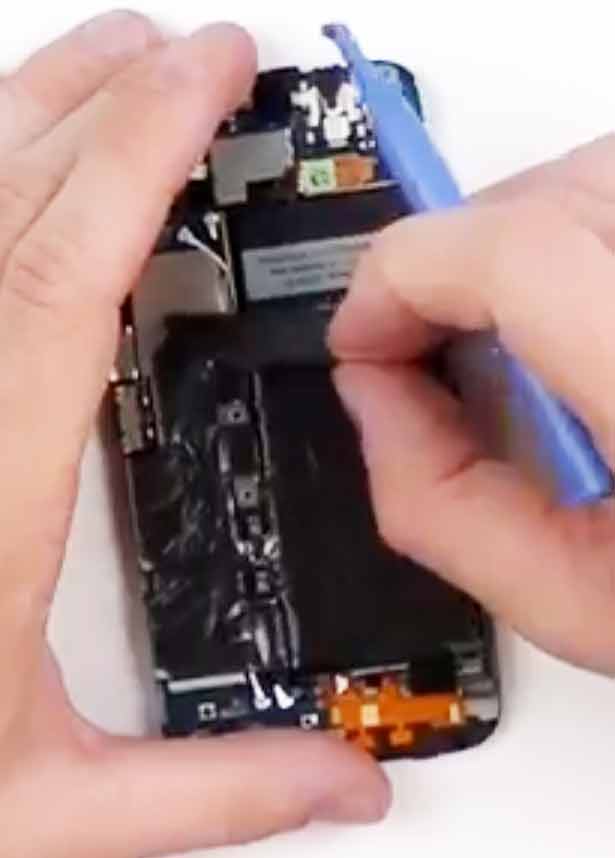
- Next, use the pry tool to remove the heat shield tape. It is secured with light adhesive, and can be easily removed by starting with the top corner. Do your best to keep this tape as fully intact as possible.
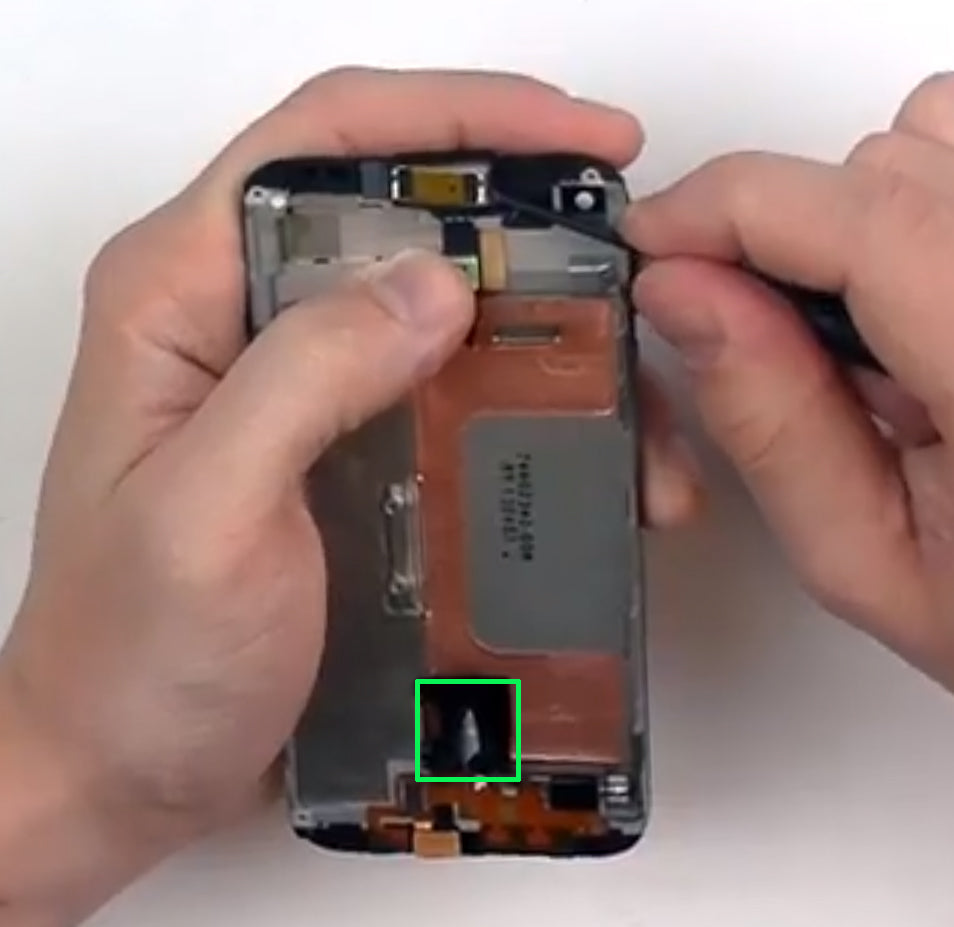
- Once this tape is taken off, you will want to pop up the battery connection and then remove the battery with the pry tool. The battery is secured with adhesive, so use the pry tool to displace it around the edges. Once the battery is removed, you can release the remaining connections (highlighted in green). Release the bottom of the antenna cable to give yourself enough room to release the bottom pop connector, which is beneath a thin layer of tape that you can pull back.
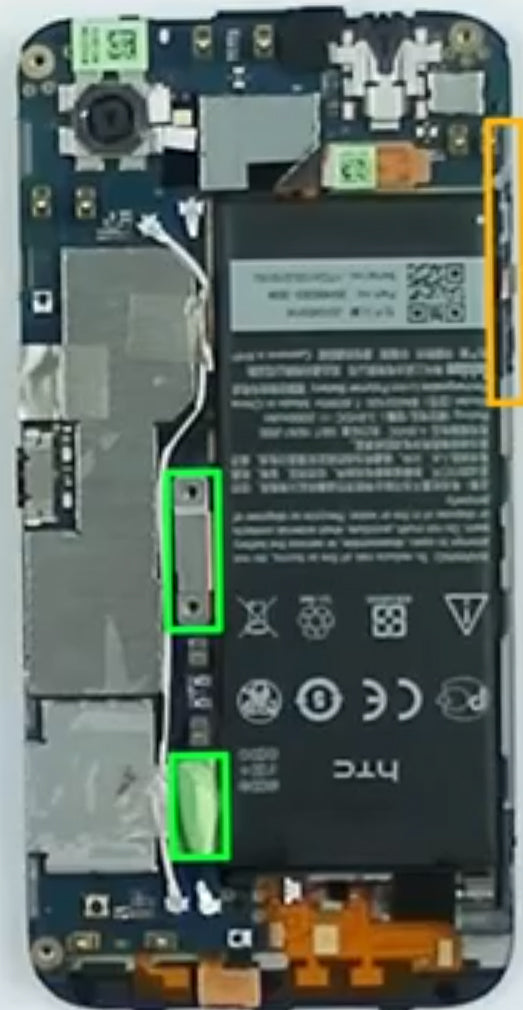
- The final connector to release in this portion is the volume button flex cable located on the side (highlighted in yellow). The adhesive on this cable is pretty strong, so take your time loosening it with the pry tool so as not to rip the cable.
- You will now be able to remove the motherboard. Start with the upper right corner with the pry tool and gently lift it away from the adhesive that binds it to the device. There is a pop connector in the bottom right of the motherboard that will release itself as you lift the motherboard away, but be sure to resecure it when you reassemble your device. If you are doing a camera repair, the motherboard is where the front, rear, and main cameras are located.
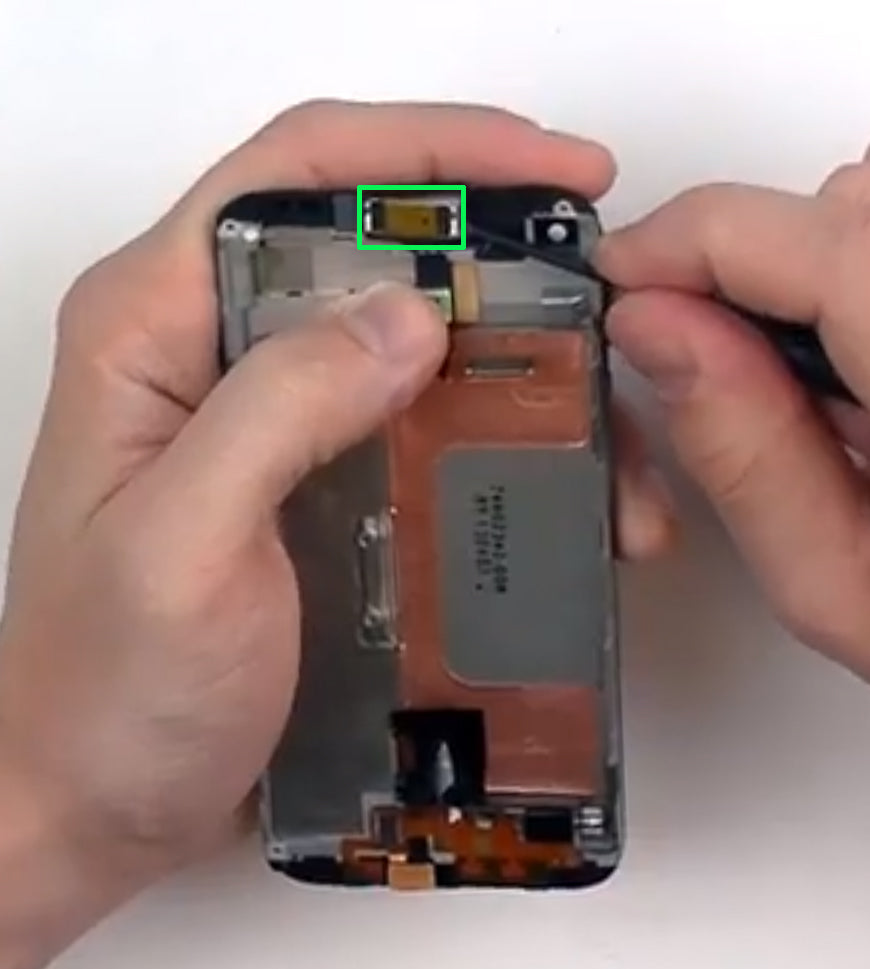
- If you are replacing the ear speaker, this connection is located in the center of the main portion of the assembly. Use a flathead screwdriver to carefully remove the speaker from the adhesive, as shown below. It is not necessary to remove this part if you are only doing a screen repair.
- Next, remove the segmant of black tape in order to access tand remove the LCD flex cable. Leave the flex cable at the very bottom of the device intact. This holds the mic and some other small components in place.
- You are now ready to prepare for removing the screen. Use a heat gun on low heat settings or a hair dryer on medium heat settings to heat along the edges of the screen from the front, loosening the adhesive that secures the screen to the housing. Do this all around the edges for about 45 seconds to 1 minute. Then, use the pry tool to gently wedge between the screen and the housing, starting on one of the sides. Run the tool along the edges until the screen is loosened. If you have difficulty, reheat the edges. Be sure to pry beneath the LCD screen once you get enough room.
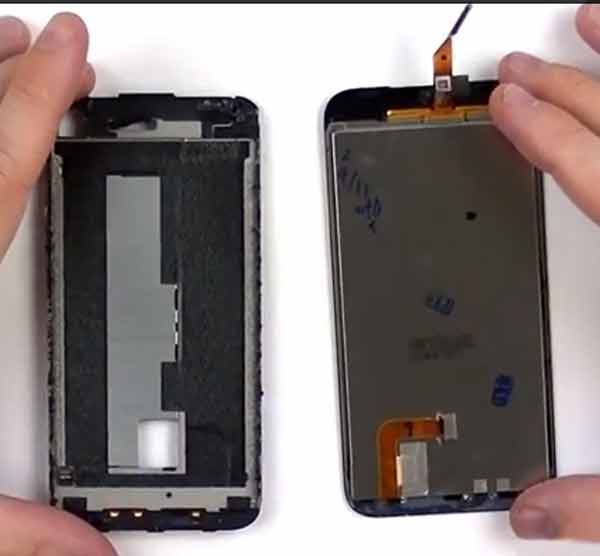
- Simply replace the damaged parts with the new ones and reverse the order to put your phone back together again.
Applying Adhesive to the Touch Screen Digitizer:
Notice:
Repairs Universe's guides are for informational purposes only. Please click here for details.
Learn about restrictions on reproduction and re-use of Repairs Universe's repair/take-apart/installation guides, and about creating hyperlinks to our guides.