iPod Nano 5th Generation Take Apart Repair Guide
June 4, 2018 | 0 Comments
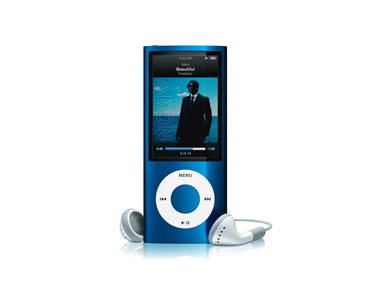
This guide shows how to take apart and repair the iPod Nano 5th Generation cell phone quickly and safely. This take apart repair guide is designed by the Repairs Universe team to help you to install replacement parts and repair your damaged iPod Nano mp3 player.
This guide will help you to install the following iPod Nano 5th Generation parts:
- iPod Nano 5th Generation LCD Screen Replacement
- iPod Nano 5th Generation Glass Screen Replacement
- iPod Nano 5th Gen Click Wheel & Flex Cable
- iPod Nano 5th Generation Battery Replacement
- iPod Nano 5th Gen Camera Replacement
Tools Required:
- Safe Open Pry Tool
- Small Phillips Screwdriver
- Small Flathead Screwdriver (alternatively a flat tool like a Guitar Pick / Razor can be used)
- Small Push-Pin / Paper Clip
iPod Nano 5th Generation Take apart guide:
- To disassemble the iPod Nano 5th Generation, first of all you need to remove the top and the bottom plastic bezels.
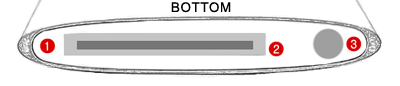
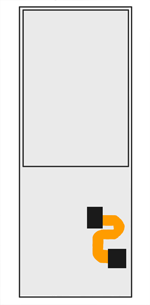
- Use the safe open pry tool to first pop the plastic bezel off from the bottom of iPod. This will expose three small Phillips screws as indicated in the figure above. Remove these three screws using small Phillips screwdriver.

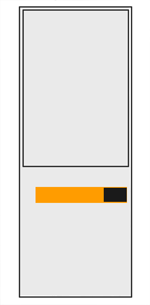
- Now again use the safe open pry tool to pop the plastic bezel off from the top of iPod. Once you have removed the top bezel, you will find two small Phillips screws at the locations shown in the above figure. You will have to make use of small Phillips screwdriver again to remove these screws. You may have to loosen the screw in case it does not come out first and then using a safe-open pry tool gently pry up the metal from the top. The screw will then come out easily. You have to be careful in removing this because the ?Hold? switch is attached to this metal part. Now pry off the ?Hold? switch and put it aside.
- The next step is to remove the click-wheel using safe open pry tool. You will have to gently pry off the click-wheel until it pops out but be careful while doing this because it has a wire connected to the logic board. Put the click-wheel aside once you have it popped out and disconnected from the logic board.
- Remove the camera bezel at the back of iPod using a small flathead screwdriver or safe open pry tool. Once the bezel is removed, use a push-pin (or paper clip) to remove the small retainer located between the camera and microphone holes.
- Now to remove the glass from the iPod frame, you need to apply some pressure using your thumbs at the bottom of the glass screen and at the same time use the pry tool to lift up the glass from the top. You will have to do this by inserting the safe open pry tool between the metal frame and the glass screen at the top. Be very gentle and careful in prying up the glass screen to avoid the scratching of the glass screen or damaging the LCD.
- After you have removed the glass screen, go ahead and remove the metal frame (metal piece) that surrounds the dock connector. Just pry it out and it will come out easily.
- The logic board, LCD and the battery of iPod Nano are a single unit and in order to remove it from the iPod casing you will have to carefully push it down to slide it out of the iPod casing from the bottom.
- The next step is to remove the camera by disconnecting it from the logic board (the location is shown in the above figure). Remove it and put it aside. Now move the logic board up and down very slowly and gently to make it loose and to remove the camera protective piece. After a little bit of loosening the piece will fall free itself.
- The next step is to disconnect the LCD cable from the logic board . The connection can be located just below the bottom-right corner of the LCD on the logic board as shown in the above figure..
- Now you will need to free the battery from the LCD assembly, keep working the logic board until the battery is almost free from the LCD assembly.
- You need to remove the speaker now which is held on by a double-sided tape and will be easy to remove.
- Once the speaker is removed, you can remove the logic board, battery and speaker assembly from the LCD. The battery will be soldered to the logic board at 3 points.
Your iPod Nano 5th Generation is now disassembled. Reverse the instructions above to reassemble your iPod.
Notice:
Repairs Universe's guides are for informational purposes only. Please click here for details.
Learn about restrictions on reproduction and re-use of Repairs Universe's repair/take-apart/installation guides, and about creating hyperlinks to our guides.