iPod Nano 3rd Generation LCD Screen Repair Replacement Guide
June 4, 2018 | 0 Comments
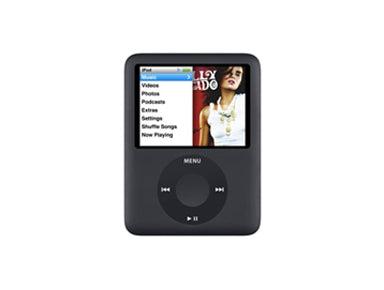
The RepairsUniverse.com team have created these video instructions to guide you through the installation process for a replacement iPod Nano 3rd Generation LCD screen to repair your Nano MP3 player.
This guide will help you to install the following iPod Nano 3rd Generation part(s):
Tools Required:
iPod Nano 3rd Generation LCD Replacement Repair Guide:
Reverse the instructions above to reassemble your iPod Nano.
Apple iPod Nano 3rd Generation LCD Replacement Summary:
Using this summary in correlation with the video will insure proper instructions are given and a safe repair is made.
- Using a plastic safe pry tool run this along all sides of the iPod releasing clips. Remove the back cover from the Nano.
- You have the access to six screws which need to be removed. Remove the click wheel ribbon cable from the jaw connector, do this with a safe pry tool and lift the jaw connector.
- You can use a pair of twisters to gently remove the ribbon cable from the jaw. Remove the small metal clips around the headphone jack.
- The screws and ribbon cable has been released you can remove the motherboard from the iPod. Turn the motherboard over and release the jaw clip on the same way as you did earlier.
- Once released you can now remove the screen from the motherboard by gently pulling away. You can replace the LCD screen.
Notice:
Repairs Universe's guides are for informational purposes only. Please click here for details.
Learn about restrictions on reproduction and re-use of Repairs Universe's repair/take-apart/installation guides, and about creating hyperlinks to our guides.