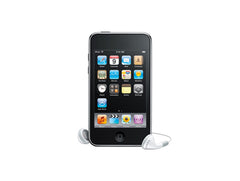
iPod Touch 1st Generation LCD Screen Repair Replacement Guide
June 4, 2018 | 0 Comments

Here the RepairsUniverse.com team have produced video instructions to guide you through the installation process for a replacement iPod Touch 1st Generation LCD screen to repair your iTouch MP3 player.
This guide will help you to install the following Apple iPod Touch 1st Gen part(s):
Tools Required:
Apple iPod Touch 1st Generation LCD Screen Repair Take Apart Guide:
Reverse the instructions above to reassemble your iPod.
Apple iPod Touch 1st Generation LCD Display Replacement Summary:
Using this summary in correlation with the video will insure proper instructions are given and a safe repair is made.
- Use a safe pry tool release along the edges of the iPod touch releasing the clips. Remove the back cover from the iPod touch. Release the battery and release the glue using a safe pry tool along the edges and gently pry the battery out.
- Remove the black tape from the bottom of the iPod .Remove the 3 screws using a small Phillips screwdriver. Remove the last screw which is hidden beneath the battery.
- Remove the metal shielding from the MP3 plot using the safe pry tool. Remove the 2 screws using a small Phillip screwdriver.
- Release the 2 ribbons and open the pop connectors and gently lift up using a safe pry tool. Release the small board from the bottom of the iPod and gently pry it off using a safe pry tool.
- Pull back the ribbons and motherboards using a safe pry tool and start removing the 8 screws on each side from the iPod using small Phillips screwdriver.
- Release the LCD screen using safe a pry tool to pry it off and you can now replace the screen.
Notice:
Repairs Universe's guides are for informational purposes only. Please click here for details.
Learn about restrictions on reproduction and re-use of Repairs Universe's repair/take-apart/installation guides, and about creating hyperlinks to our guides.

