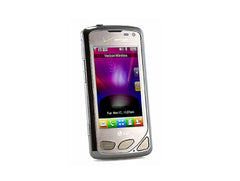
LG Ally VS740 Screen Replacement Take Apart Video Repair Guide
June 4, 2018 | 0 Comments
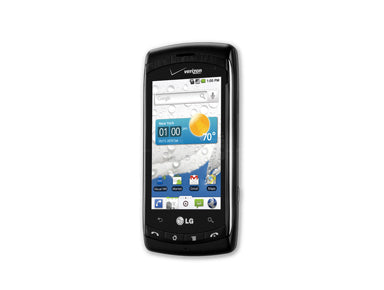
This instructional video take apart repair guide shows how to disassemble the LG Ally VS740 so you can safely install replacement parts to repair your handheld device. This video guide was put together by the RepairsUniverse team and will guide you through the steps required to install a new replacement glass touch screen digitizer, or a replacement LCD screen along with other replacement parts.
This guide will help you to install the following LG Ally VS740 parts:
- LG Ally VS740 LCD Screen Replacement Display
- LG Ally VS740 Glass Touch Screen Digitize Replacement
- Other LG Ally VS740 Parts
Tools Required:
LG Ally VS740 LCD & Touch Screen Digitizer Replacement Guide:
The LG Ally VS740 is now disassembled and you can replace the damaged part(s) with new ones. Reverse the instructions above to reassemble your phone.
Applying Adhesive to the Touch Screen Digitizer:
How to fix a LG Ally VS740 Screen - Written Repair Guide:
- The first step is to power off the phone; remove the memory card, the battery door and the battery.
- The first thing we are going to remove is the back housing. Using the small Phillips screwdriver start by removing the six screws (shown in figure below) around the housing.

- Then slide open the phone and insert the safe open pry in between the housing around the keypad area and run it along the phone's edges so that the back housing is unlocked as shown in the second figure below. You then slide back the phone and pry open the other end of the phone so that housing can be completely removed.

- This next step will involve removing the motherboard and the keypad. You start by removing the two screws on the motherboard one on the top and the other under the sticker.
- There are two clips on both ends of the phone which can be slightly nudged in order to release the bottom end of the phone. However be careful because there is a rail ribbon attached which will need to be unlocked using the safe open pry tool.
- You can also remove the C-Side housing by unscrewing the four screws that hold it in place. One of these screws is under a white sticker so don't forget to remove the sticker to reveal and remove the screw.

- Once the C-Side housing has been set aside you can disconnect the LG Ally's slide rail. There are four screws which need to be removed, two of these screws are under rubber caps which can be easily taken out using a set of tweezers.
- There are several clips along the sides of the phone which need to be unlocked using the safe open pry tool. Just slide the tool in between the edge and slowly run it along the sides. You should be able to hear a number of clicking sounds which signals that a clip has been unlocked. The slide rail can now be safely lifted off and put aside as shown in the figure below.

- Now the next thing which needs to be removed is the LCD screen. You start by disconnecting the clips; the LCD clip is cleverly hidden under an adhesive sticker which needs to be removed prior to disconnecting the clip. The ear speaker and touch screen clips (located on the top of the phone) also need to be disconnected..
- Using a safe open pry tool the LCD screen can be slowly pried and lifted off from the edges. Once the LCD is removed your phone is completely disassembled.
At this point you can now replace old or faulty parts prior to putting everything back together following this guide in reverse.
Notice :
These replacement instructions are for informational purposes only. These are published on the http://www.repairsuniverse.com web site free of charge and without any kind of warranty. We will not accept any liability for damage or injury caused whilst following this guide.
Reproduction :
We strictly prohibit any alteration or modification of the format or presentation of this guide for inclusion within other web sites and publications or otherwise. If you would like to make this guide available to other people, please do so by way of a hyperlink.