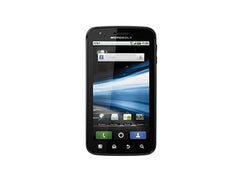
Motorola Atrix HD Repair Guide
June 4, 2018 | 0 Comments
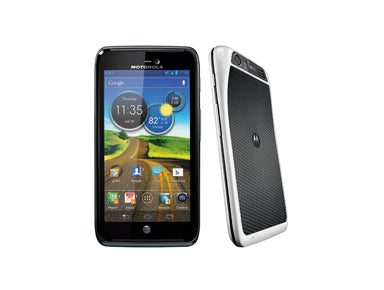
This take apart repair guide will show you how to dis-assemble the Motorola Atrix HD. This guide was designed by the Repairs Universe team and can help you replace a cracked glass touch screen digitizer, or even a faulty LCD display screen. This Atrix HD repair guide will also allow you to replace and install other internal components.
This guide will help you to install the following Motorola Atrix-HD parts:
- Motorola Atrix HD LCD Screen
- Motorola Atrix HD Touch screen Digitizer
- Other Atrix HD Internal Components
Tools Required:
- T5 Torx Screwdriver
- Save Open Pry Tool
- Spudger Opening Tool
- Heat gun or blow dryer (for touch screen repairs)
Motorola Atrix HD Take Apart Repair Guide:
- First step is taking out the sim card. This is located on the left side of the device.
- Lift up the door and push down on the sim card and it will release. If you have a micro SD card you will need to remove it as well.
- Now you will need to remove the back plate of the device. Using a safe open pry tool pry along the edges of the back cover to release it from the clips holding it in place.
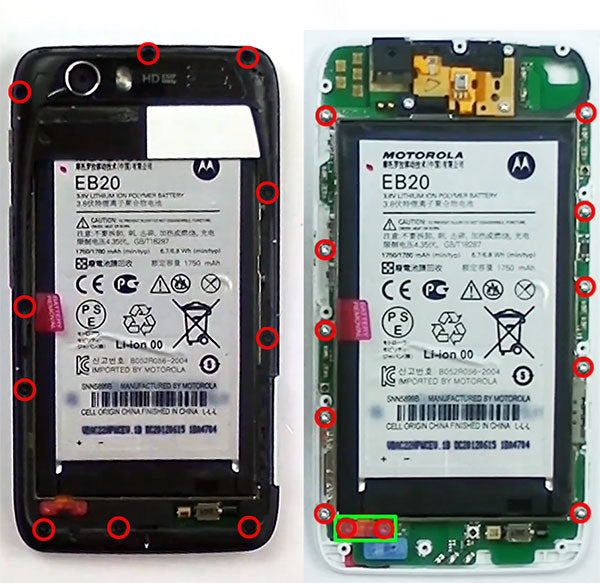
- Using the T5 Screwdriver you will need to remove ten (10) screws around the edges of the device. See figure below for reference,
- Once these screws have been removed you can now use your pry tool to pry off the back housing cover.
- Start from the bottom of the device and begin releasing the clips all the way around the housing.
- With the back housing removed you will see the motherboard is now exposed. You will need to remove the ten (10) Torx T5 screws circiled in the figure below.
- You will also see towards the bottom the battery connector is held down with two (2) T5 screws that can be removed to release the connection.
See Figure Below For Reference.
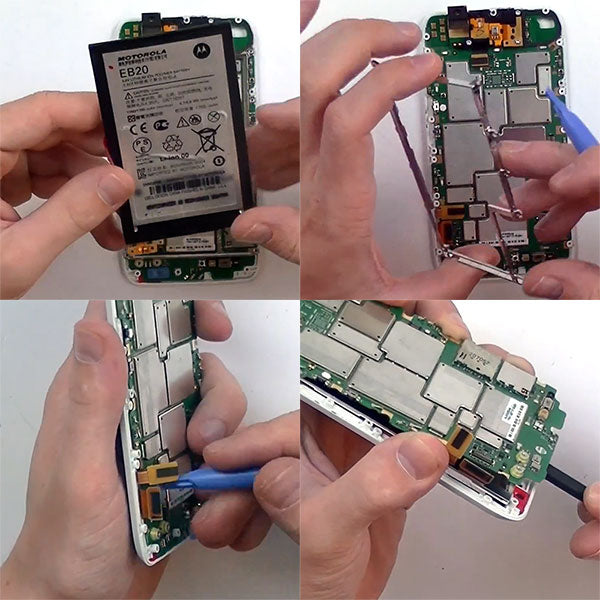
- Next you are able to lift our the battery from the housing.
- Next you can remove the metal frame from the housing as shown in the top right section in the below figure.
- On the left side of the device you will have two (2) pop connectors to release.
- Using a safe open pry tool or spudger opening tool begin lifting the motherboard from the back of the LCD screen which is held in by some adhesive.
- Use extreme caution not to bend or break the motherboard.
- If you only need to replace your LCD screen you can now install your new replacement LCD and re-assemble your device.
See Figure Below For Reference.
- After the Motherboard has been removed you can move the long touch screen digitizer flex ribbon cable upwards away from the LCD.
- You may now lift out the LCD screen from the outer housing.
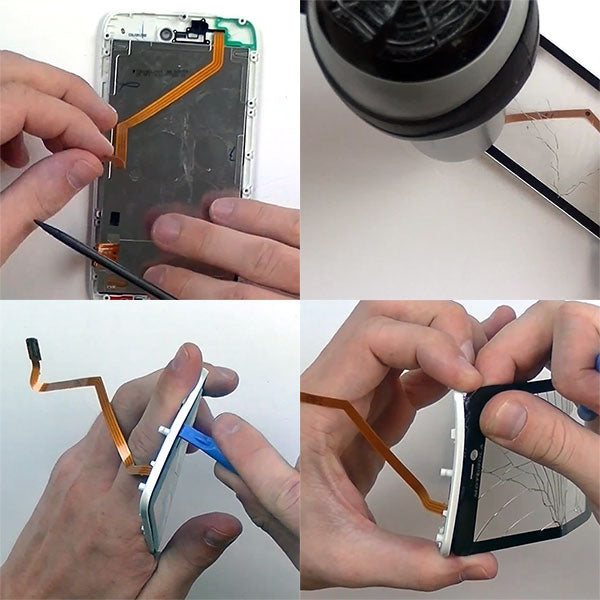
- Next you will need to use your heat gun or hair dryer on a medium setting to warm and loosen the adhesive holding the glass touch screen to the inner bezel.
- Hover your heat source roughly 3-4 inches away from the screen and frame. Do this for roughly 30-45 second intervals. You may need to re-apply heat to stubborn areas during the removal process.
- Once the screen has been properly heated use your safe open pry tool and start from the top of the frame. Insert your pry tool in between the seam of the housing and glass to be able to separate the two.
- Work your pry tool along all edges of the device to release the adhesive holding it in place.
- Once enough adhesive is release you will be able to completely separate the glass touch screen from the housing.
See Figure Below For Reference.
To re-assembly your device you will need to remove any old adhesive form the inner bezel of the housing that you removed the previous glass digitizer from. From here you will want to cut and place fresh adhesive to the inner bezel to be able to secure your replacement touch screen to the frame. Reverse the steps above to put your device back together.
Notice:
RepairsUniverse does not accept any liability for damage, or injury caused, while you are following our disassemble guides. We make no representations, warranties, or conditions of any kind, express or implied. Utilizing these guides to assist you in repairing your mobile devices will void your warranty. RepairsUniverse strictly prohibits altering or modifying our teardown guides for commercial use, reproduction, or publication