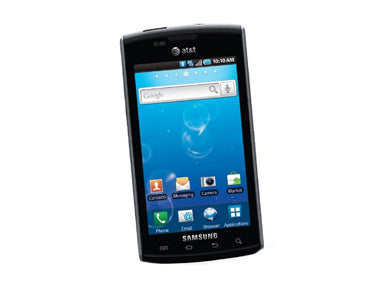
Samsung Captivate i897 Take Apart Repair Guide
June 4, 2018 | 0 Comments
The RepairsUniverse team now offers this written repair guide to assist you in replacing the screen on your Samsung Captivate i897. We take you through each step by step teardown, from screw removals, to flex cables, mainboard and much more.
This guide will help you install the following Samsung Captivate i897 part (s):
Tools Required:
Samsung Captivate i897 take apart/repair guide:
- First remove the back cover, battery, sim card, and SD card from the phone.

Figure 1
- Remove all six screws on the back of the cover shown in Figure 1 and keep them somewhere safe .Two of them is a little tricky to get to. What you need to do, is GENTLY pull up in the center of the battery latch, and then pull out, it should slide out relatively easily. The final two screws should now be reachable.
- Start with the bottom end of the phone first, and begin to pry the screen out from the edges. The bezel and back cover of the phone are all one piece around the screen. The bottom edge should come off without too much trouble.
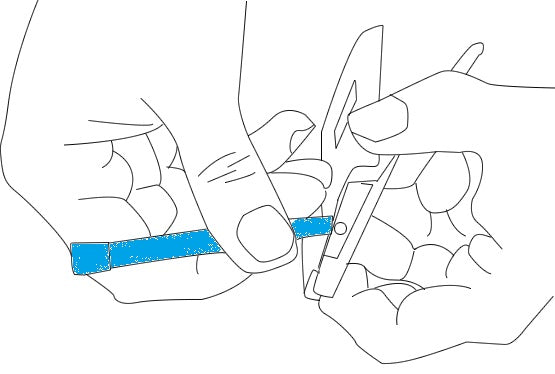
Figure 2
- Release the last clip at the top from the rest of the phone: With a plastic tool or very small flathead screw driver, VERY carefully lift one side of the case as shown in the picture above, slide the driver head in and gently pry up. The last clip should come free without too much force.
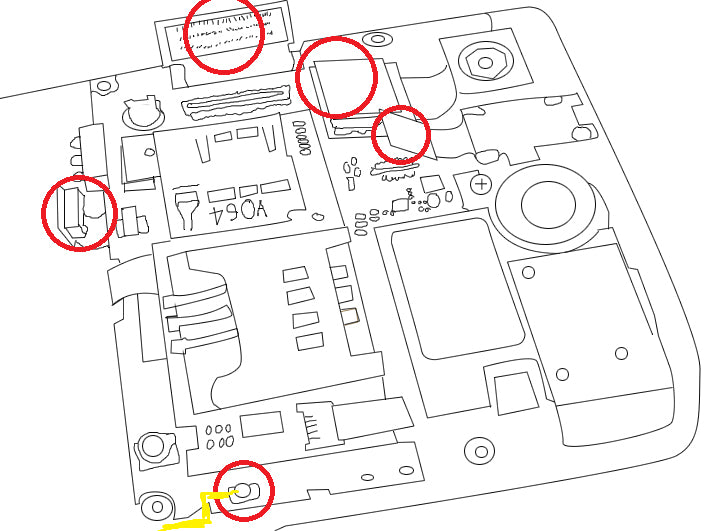
Figure 3
- Everything with a red arrow as shown in the Figure 3 needs to come off of the mainboard to enable removal. There are a couple more things to do before we can pull that mainboard off.
- First, we need to unlatch the ribbon cable from the speaker. Flip the back clamp on the connector up to enable release of the cable. Carefully remove a piece of blue tape over the connector and cable.
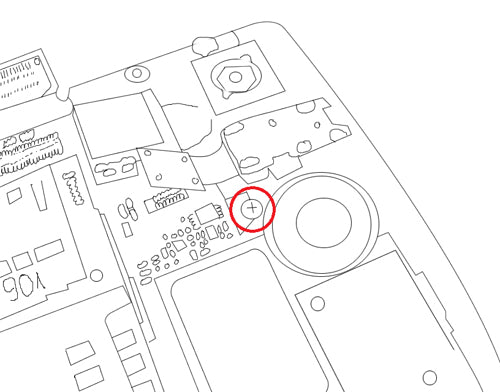
Figure 4
- There's one last screw to take care of as shown in Figure 4. Once that is out, you can pull the right side of the board up, and the left should follow pretty easily, just be careful of your cables and be absolutely sure everything is disconnected before you pull that board off.
- Here is the front side of the board with all of the shielding removed. This basically entails taking the micro sd and sim card board off. When doing this, be sure to disconnect the cable that runs from the top board to the underside of the main board.
- If you are replacing the LCD or touch screen digitizer, you will want to use your hot air gun or hair dryer to heat up the glue that holds the glass in place, and then you can gently pry it off using your open safe pry tool.
- That completes the step by step teardown of the Samsung Captivate.
Notice:
Repairs Universe's guides are for informational purposes only. Please click here for details.
Learn about restrictions on reproduction and re-use of Repairs Universe's repair/take-apart/installation guides, and about creating hyperlinks to our guides.
leave a comment
Your email address will not be published. Required fields are marked *