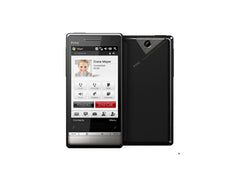
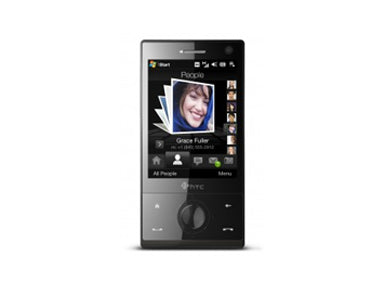
HTC Touch Diamond Take Apart Repair Guide
June 4, 2018 | 0 Comments
This guide will help you take apart the HTC Touch Diamond fairly easily in a step by step manner giving you a chance to replace faulty parts. However you will need to organize everything neatly as there are many screws to deal with. Once you have replaced the parts you want, the guide can be used in reverse to put everything back together again.
This guide should help you replace the following parts:
- HTC Diamond Touch LCD Screen Replacement
- HTC Diamond Touch Glass Touch Screen Digitizer Replacement
Tools:
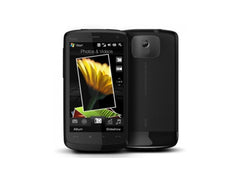
HTC Touch Diamond Take Apart Repair Guide
- The first step is to remove the battery, SIM slot cover, the SIM card, and the micro SD card and make sure that your phone is powered off prior to taking it apart.
- Since they are many screws to remove from this phone it can be hard to keep track of all of them. This is why it may be a good idea to put each set of screws in a different place and label them.
- The first step would be to remove the screws on the back using the Small Phillips Screwdriver.
- You should now be able to see two cables, one will have a white tape covering it which should be removed and the connector flipped up in order to unlock the ribbon from the phone. The other cable can be identified by its round connector on one end. This one fits in like a plug does into a socket and can be lifted up and out using the safe open pry tool.
- Now you should be able to lift up and put aside the circuit board. The next step is to pull out the two ribbon cables. These can be simply pulled out like a plug from a socket.
- Using the safe open pry tool you can lift off the plastic surrounding the camera. You should also remove the bar coded plate along with any visible screws.
- You should now remove the two plastic rod like structures from the side of the phone by removing its surrounding screws. These should lift off easily once all the screws are out.
- Using the safe open pry tool you can easily pry off the metal plate. However be careful because this plate is connected via thin wire. You can also now remove the silver colored tape off the LCD screen and disconnect all visible wires. You should also disconnect the round connector located on the bottom left of the phone.
- The keypad can now be easily pushed out. Since the LCD is glued on removing it will require the use of a heat gun and the safe open pry tool to lever it out. Your phone is now completely disassembled.
There you have it, the HTC Touch Diamond is now completely disassembled. You can now replace old or faulty parts prior to putting everything back together which will require following this guide in reverse.
Notice:
Repairs Universe's guides are for informational purposes only. Please click here for details.
Learn about restrictions on reproduction and re-use of Repairs Universe's repair/take-apart/installation guides, and about creating hyperlinks to our guides.