LG VU CU920 & CU915 Take Apart Disassembly Repair Guide
June 4, 2018 | 0 Comments
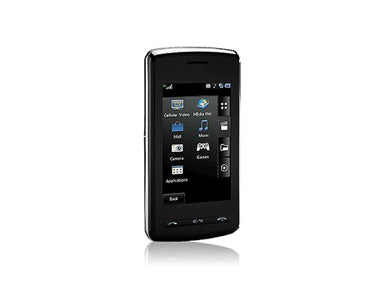
In the following guide the Repairs Universe team shows how to disassemble and take apart the LG VU CU920 or CU915. This guide should however enable anyone to take apart the LG VU safely and easily giving them a chance to replace damaged or broken parts to repair their phone. This guide should help those people how have cracked or broken their touch screen digitizer or LCD screen.
This guide is aimed at helping you replace the following LG Vu repair parts:
Tools:

- The first step is to turn off your phone and remove your SIM, battery, back cover and memory card prior to removing the four screws as shown in the illustration.
- Once you have taken out the screws you will need to knock the casing loose by running a safe open pry tool around the sides. Run the tool around the entire length of the binding in order to release the plastic latches.
- You should now be able to remove the camera surround quite easily to reveal the board.
- At this point you should be able to pull out the antenna and remove the three screws i.e. two near the antenna and one at the bottom as shown in the illustration below.

- The next step is to disconnect the three ribbon connectors. This can easily be achieved by lifting up the plug from the socket using something flat such as the pry tool.
- The fourth connector is connected in a different way as compared to the previous ribbons. There are two colors at the point the ribbon enters i.e. one is black and the other is white. The black side is the latch which needs to be flicked up in order to loosen it so that the ribbon can be pulled out of the socket. The other two connectors can be taken out as the first three connectors.
- Now that all the ribbons have been disconnected the green circuit board can be easily lifted out and put to one side.
- The next step is to remove the front side of the phone's casing. This too like the camera surround can be achieved by running a pry tool around the sides to release the latches.
- In order to take out the screen you will need to lift it off the double side tape which is holding it from below. This can be done by inserting a pry tool under the screen and gently separating the tape from the screen..
There you have it The LG Vu is now completely disassembled. At this point you can replace any broken or spoil parts and work though this guide in reverse in order to put everything back together again.
Notice:
Repairs Universe's guides are for informational purposes only. Please click here for details.
Learn about restrictions on reproduction and re-use of Repairs Universe's repair/take-apart/installation guides, and about creating hyperlinks to our guides.